
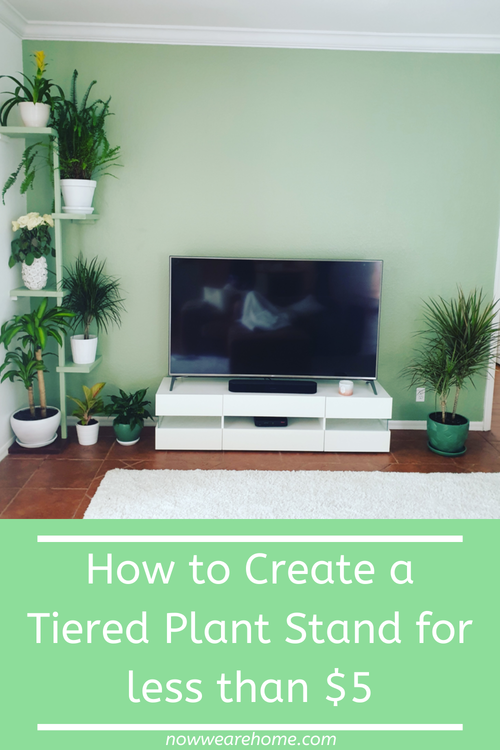
Do you have an empty corner of your house that needs filling? Well most of us do, what better way to bring the outside in than create your own tiered plant stand. This is what we started with, it looked completely bare, we didn’t need any furniture so we thought we would be smart and create our own plant wall.
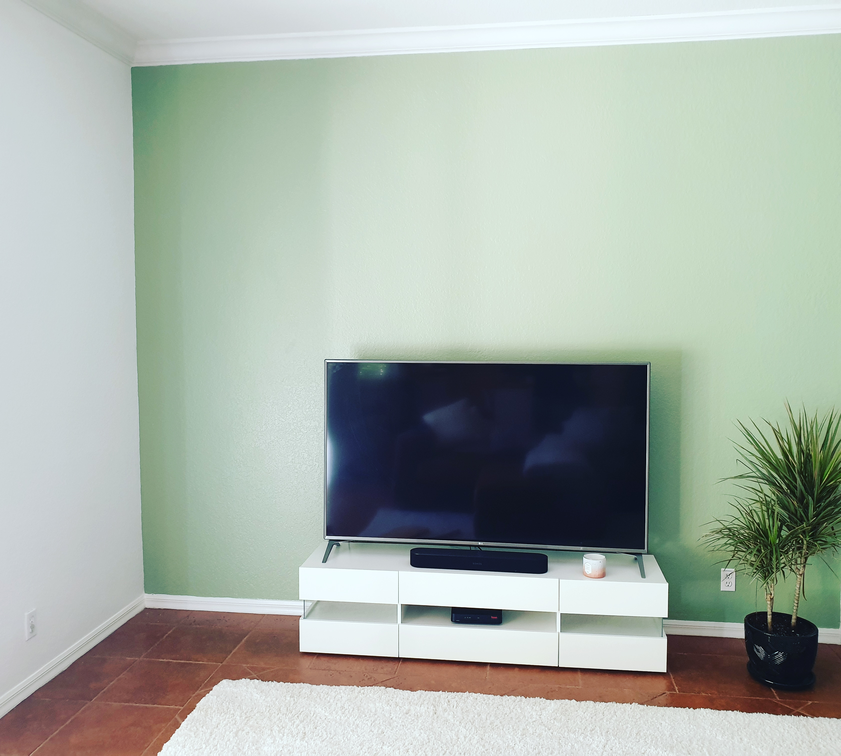
After searching online we found endless options, that were upwards of $100 for something that wasn’t quite right. We have fairly high ceilings and a tiered plant stand that was only 56″ was just not going to cut it.
Table of Contents
Designing Wooden Tiered Plant Stand
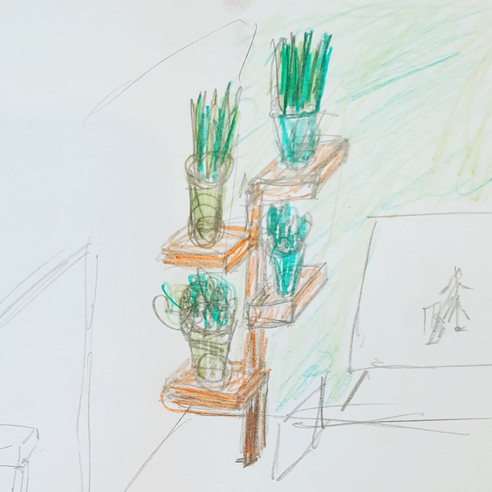
After realising that we couldn’t get what we wanted I tasked my husband to try and draw something. Now the finished article actually looks nothing like this, but it got us thinking! We had a lot of wood in the garage from other projects we have worked on. So we started plannig.
Equipment Used to Make Tiered Plant Stand
Apart from $5 spend we had everything we needed to make these shelves already in the garage. To be honest if we had a circular saw it would have been 10 times easier, as we only had a blunt 30 year old hand saw!!
Tools
- Hand Saw (circular saw would be much easier though!)
- Cordless Drill
- 2 x wood drill bits and a screwdriver bit
- Tape Measure
- Hammer
- Small Level
- Saw Horse (or a table in our case!)
- Set Square
- Pencil
Materials
- Dowel 5/16″ x 48″
- Construction Screws x 16
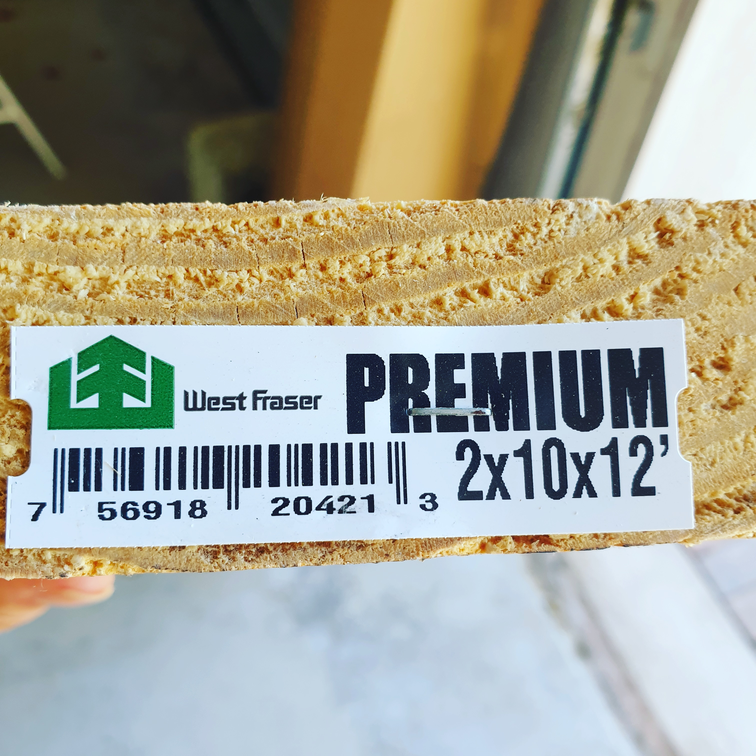
- Lumber (we used 2″ x 10″, but I wouldn’t recommend anything thinner than 10″ as you will struggle to put planters on top)
- 3 x Baluster 2″ x 2″
- Interior paint to match
How to Make Tiered Plant Shelves
Cut the timber down to size. We were using some leftover 2″ x 10″ x 12′ which we cut into 5 shelves measuring 15″ each. This was a fairly arduous task as we were using a blunt hand saw, but it would be super easy if you had a circular saw. If you were to purchase the timber from Home Depot, or Lowes they will cut it for you.

Once the shelves were cut to size we then cut the baluster to 20″. The top shelf is 88″, if you don’t want your tiered shelving unit to be as big, 15″ would look great too. With the leftover baluster, we cut four pieces to 6.5″ to use as the shelf supports which would attach to the wall.
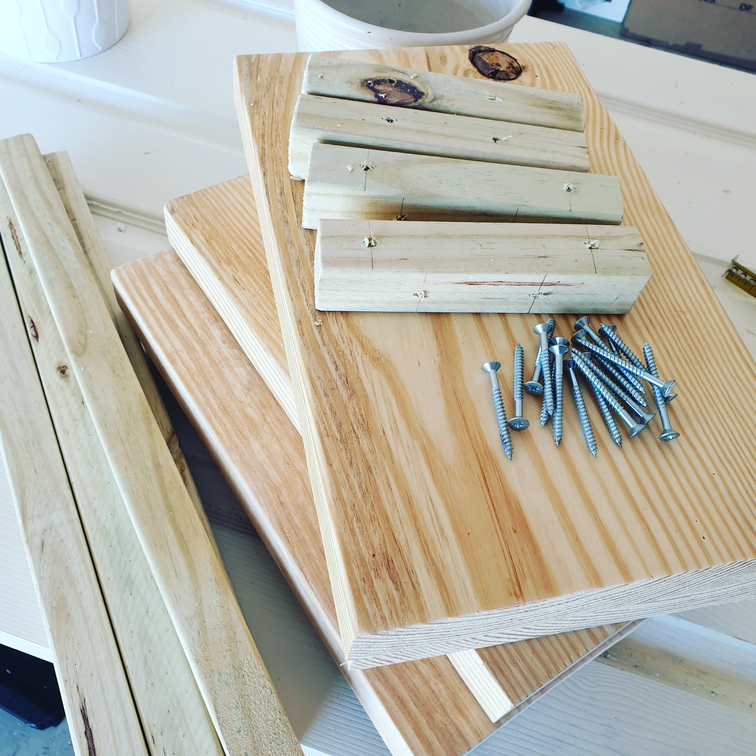
To attach the baluster to the shelves we used a dowel, which we cut down to 3″ sections. So we drilled holes through the middle 3 shelves and half way through the top and the bottom shelf. We also added holes in the middle sections of the balusters so they would attach nicely in place.
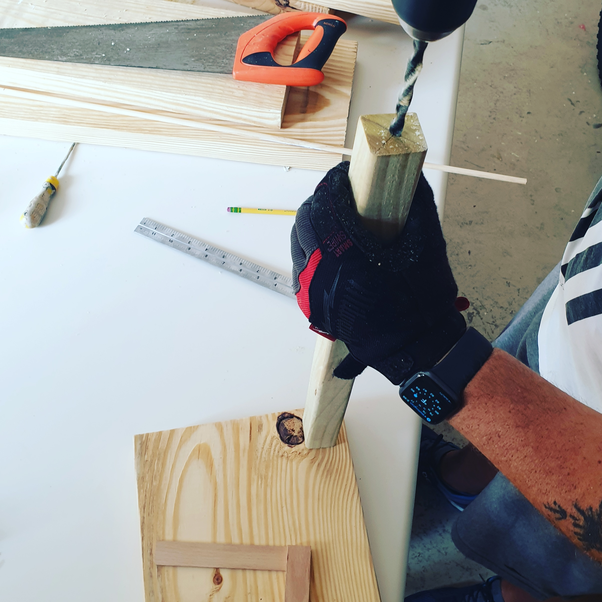

Just before fitting in place, we predrilled the shelf supports. Two holes to attach to the wall and on the next side slightly further apart another two holes to attach to the shelves.

Building Tiered Plant Stand
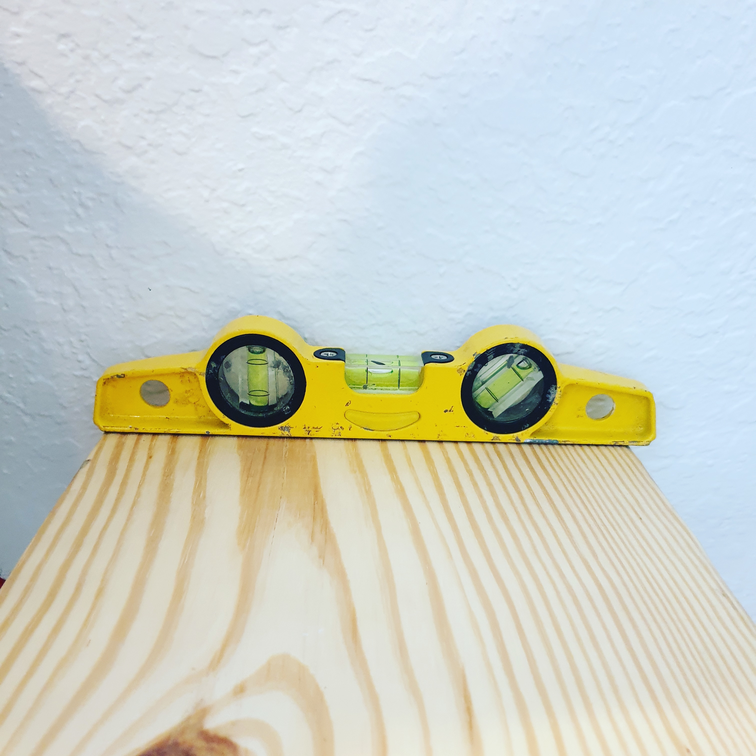
We had literally spent no money, well $4 for the baluster and the dowel, was this actually going to work? We made sure the bottom shelf that was just sitting on the floor was in a perfect position before we added the central baluster. Getting the shelves level before adding the wall support was actually a lot harder than I thought it would be. However, my husband is a perfectionist so it had to be right!
This isn’t a one person job, although, if I am honest I am not sure how much help I was! Other than stabilising the unit.

The wall supports were screwed into the walls and then from below screwed into the bottom of each of the shelves. The middle supports are all held together with dowels, so it is super strong.
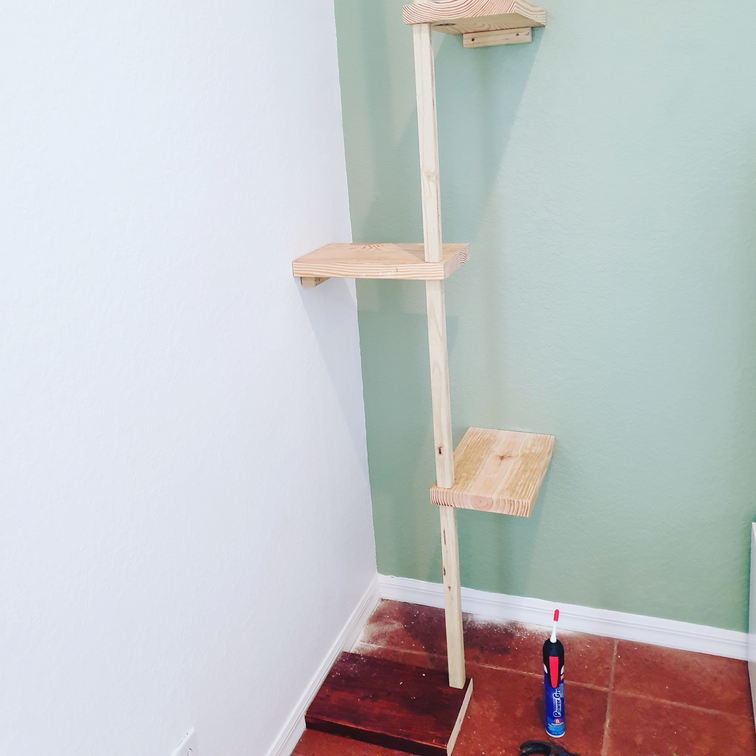
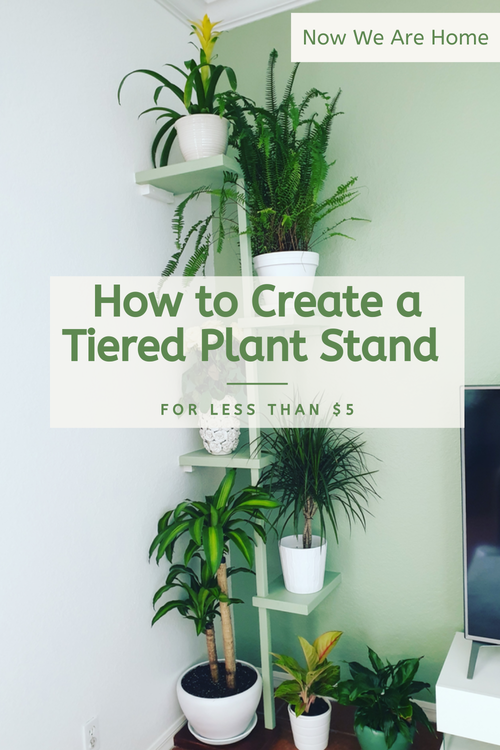
So it was built, I couldn’t wait to get the plants on the plant stand! Also, I wasn’t sure at this point what colour I wanted to paint them. The bottom shelf was already prestained (for another project) but actually this kind of matched the floor, so I was going to keep it the same.
Painting Tiered Plant Shelves
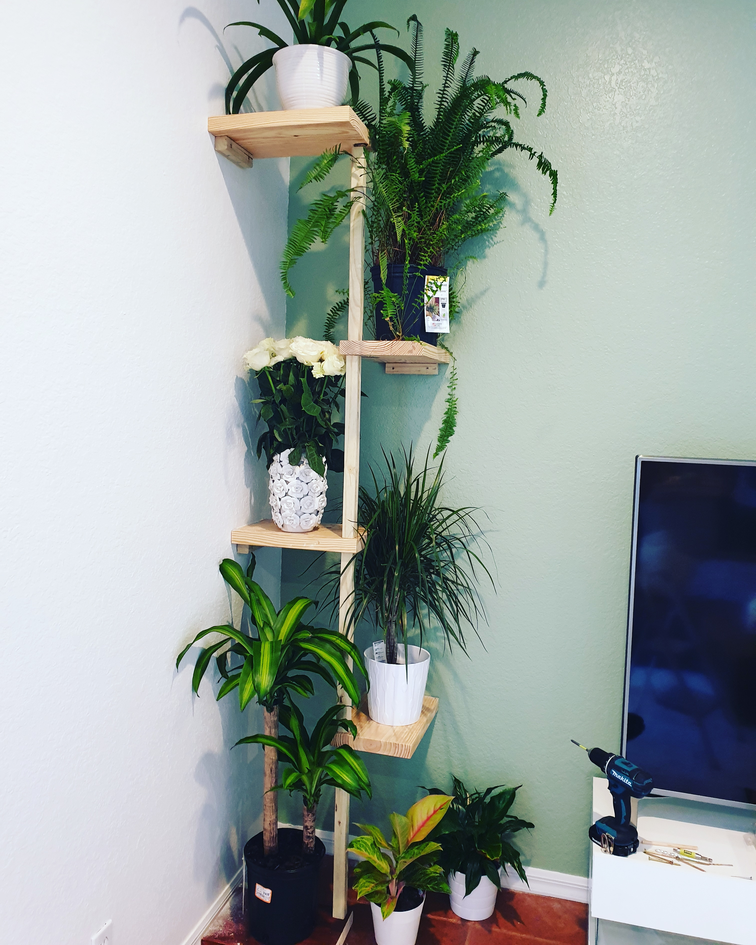
As we were planning on bringing the outside in, I wanted to “hide” the shelves as much as I could. It was the plants I wanted to look at.
The back wall was already painted Roof Top Garden (S390-4 Marquee One Coat paint by Behr) so this is the colour I painted the shelves. The sidewall was painted white so we painted the shelf supports on the white wall white. But everything else was painted green.
I painted this as below, but I then had to caulk it as you could see the screw holes. If I wasn’t incredibly impatient this should have been done before painting! But it was worth it!

Cost of Tiered Plant Stand
All we need to actually buy was the dowel at $0.93 and the three balusters at $2.91 so a total cost of $3.84! Even if I needed to buy the wood it would still cost less than $15. It’s amazing what you have lying around though when you start looking!

I would love to see photos of your completed tiered plant stand project, please add a photo below. Or tag me on socials at @nowwearehome
If you love house plants check out the benefits of snake plants, we have at least five in our home.


No Comments